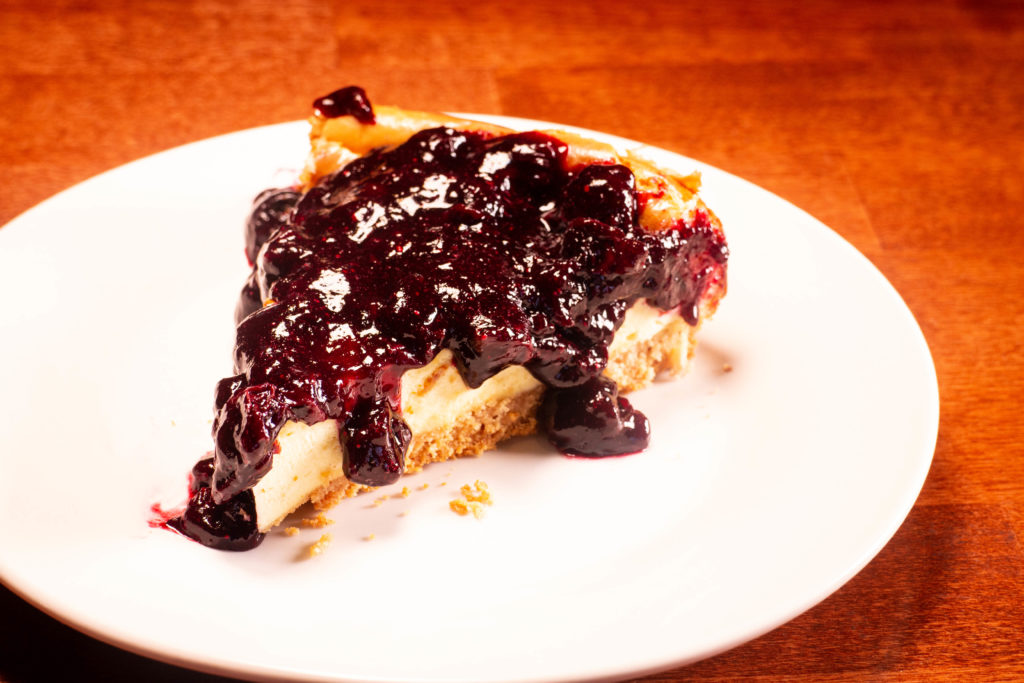
Classic Cheesecake Blueberry Cheesecake
One of the best things about the keto diet is cream cheese is allowed!
Needless to say I’m a cream cheese fanatic, and love using cream cheese in my cooking whether it be a sweet or savory dish.
When I first started trying to bake low carb, a cheesecake recipe was the first thing I attempted. Looking at my go to classic cheesecake recipe, I swiftly realized there were only a few minor changes that had to be made in order to make this tasty dessert keto friendly.
I made my “graham cracker crust” out of almond flour, melted butter, and cinnamon instead of graham crackers and butter as I used to. The method of making the crust was still very much the same. I combined my almond flour, sweetener, and cinnamon, in a medium sized bowl. After I had mixed all of the ingredients together with a fork, I then poured in the melted butter. I mixed it until the butter was well incorporated, and I was satisfied with the consistency. After that I plopped the dough into a lightly greased nine inch springform pan and pressed the crust until it was evenly distributed along the bottom of the pan, as pictured below.
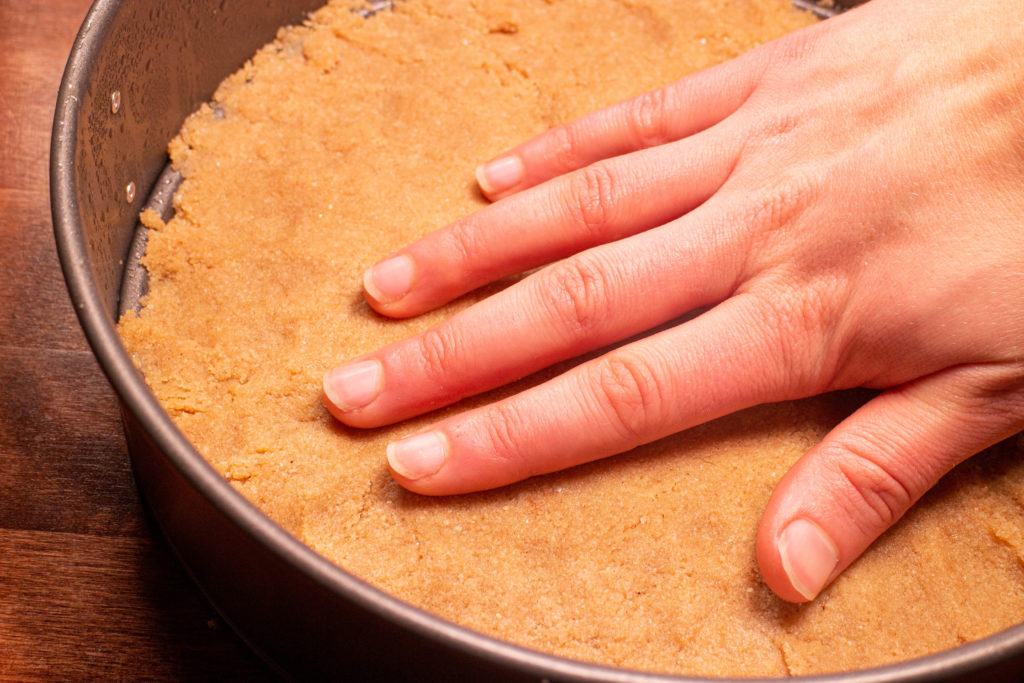
I put the crust in the oven and baked it at 350° F for about 7-10 minutes or until it just barely started to brown.
While the crust cooled I moved on the the next step. The cheesecake filling.
I plopped my blocks of cream cheese in the mixer, and turned it on for a few seconds to help soften the cream cheese just a little more. Instead of the sugar my original recipe called for I use either Erythritol or Splenda. (Splenda is not as keto friendly but is easier on the pocketbook.)
I beat the sweetener with the cream cheese for a couple minutes until they were blended together and I had a smooth, creamy mixture.
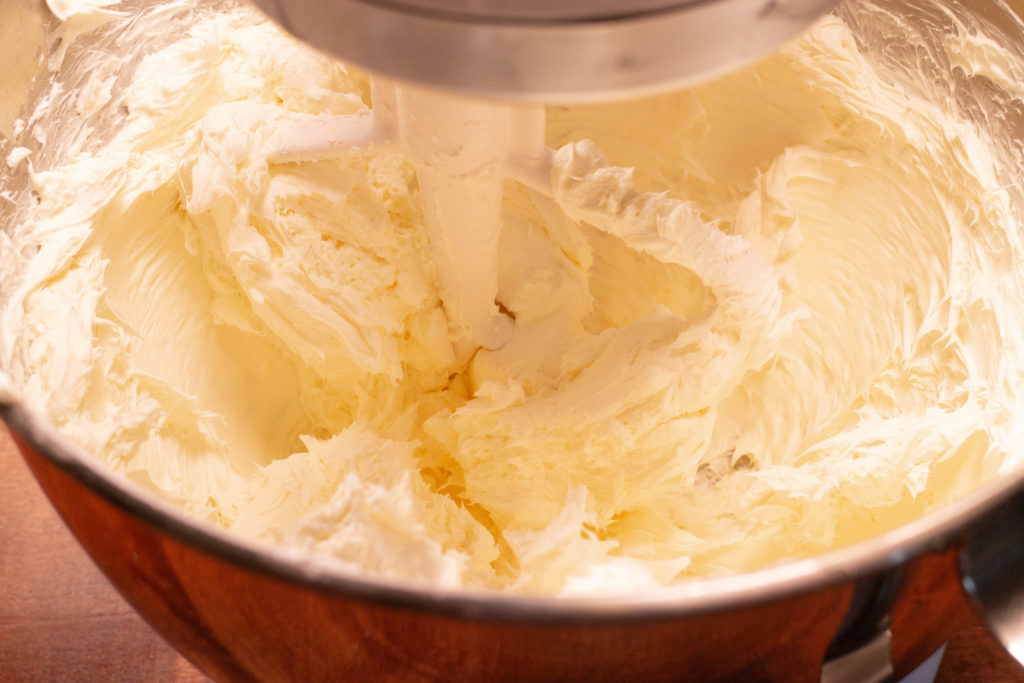
After this I added my eggs and vanilla, then mixed it again. You may find during this step, the sides of the bowl will need scraped at least a couple times to ensure your filling is well mixed. I generally have to stop my mixer and scrape the bowl about three times during this step.
Once your mixture is smooth and creamy, pour it into your pan and spread it out evenly with a spatula.
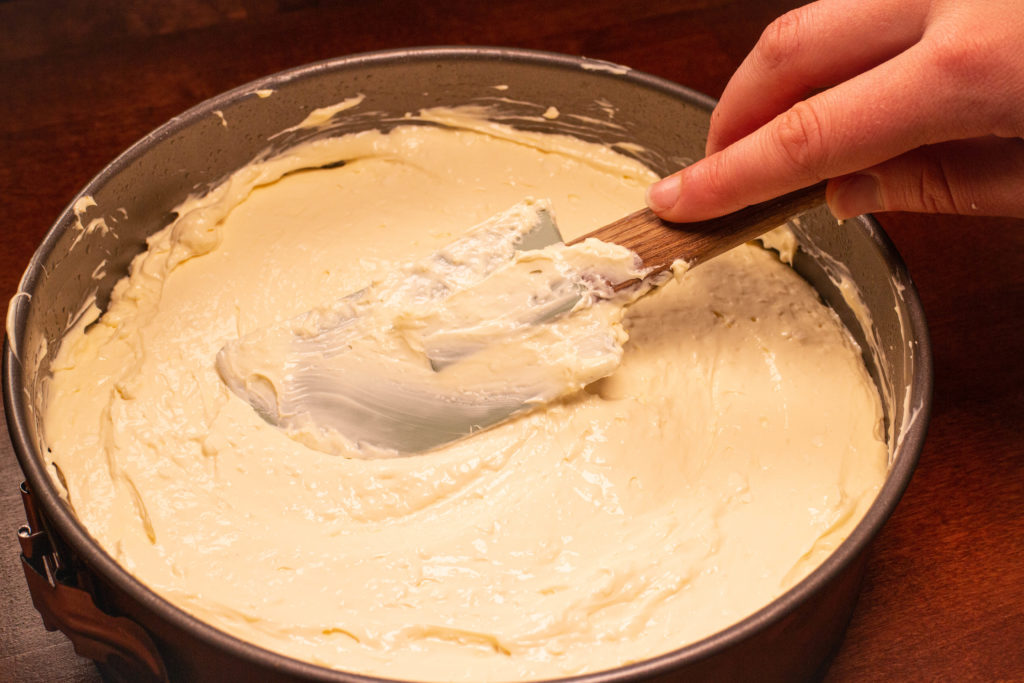
Now it’s time to bake your cheesecake! I baked it at 350° F for about 45 -60 minutes, until it was brown on top and the filling had set. Keep in mind yours may take either less time or slightly longer depending on your oven.
Though this cheesecake is very, very tasty to eat plain, I love dressing it up a little, and developed a delicious blueberry gelatin topping to serve on top of it. This blueberry topping took some definite experimenting to develop. By removing the sugar and cornstarch I had difficulty mimicking a pie filling like consistency, but after some experimentation I was satisfied with the effects of using gelatin in my topping.
Because of the nature of gelatin, this topping has a jelly like consistency if cold. (A texture I personally love.) However, if you prefer your topping more syrupy I recommend you warm it slightly, and it will pour nicely over your cheesecake.
This cheesecake works well either made in a traditional pie plate if you want a quick and easy cheesecake. If you want the classic look of a cheesecake it also does well in a springform pan. I personally love how it turns out in a springform pan, but have baked it in a pie plate when I was in a rush and didn’t have time to let it cool completely before taking it to a function.
When using a nine inch springform pan, let your cheesecake cool almost completely, then run a thin rubber spatula (my preferred spatula is Norpro) along the sides before removing the edge of the pan to help prevent your cheesecake from sticking to the sides.
After you have removed the cheesecake from the pan, I like to let the cheesecake cool in the fridge about another half hour before serving. Once it has cooled completely, cut it into your desired serving size. (About ten to twelve servings) Add the blueberry topping on top, and prepare to be delighted!

I’ve also made this cheesecake and added Lily’s Chocolate Chips to the top right before baking. Let me tell you, it was delicious!! Feel free to play around with different combos, and let me know what you have tried and how it turned out! I would love to hear about your baking experiences!
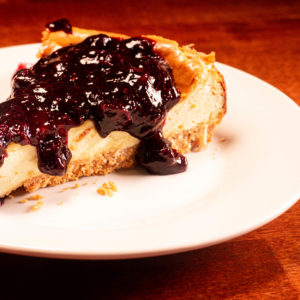
Classic Blueberry Cheesecake
Ingredients
For the Crust
- 1 1/2 Cups Almond Flour
- 1/4 Cups Erythritol Or your favorite sweetener
- 6 Tablespoons Unsalted Butter Melted
- 1/2 Teaspoon Cinnamon
For the Filling
- 3 8 Ounce Packages Cream Cheese Room Temperature
- 1 Cup Erythritol Or your favorite sweetener
- 1 1/2 Teaspoons Vanilla Extract
- 3 Large Eggs
For the Blueberry Topping
- 2 Cups Frozen Blueberries
- 2/3 Cups Erythritol Or your favorite sweetener
- 3 Tablespoons Water
- 1/2 Tablespoon Gelatin
Instructions
The Crust
- Preheat the oven to 350° F. Combine the erythritol, almond flour, and cinnamon in a medium sized bowl. Mix until all ingredients are evenly distributed.
- Pour the melted butter over the mixture, and mix until you have a wet crumbly mixture.
- Press the dough into a round 9 inch springform pan, until the bottom is evenly covered with the crust.
- Bake for 7-10 minutes or until the crust has barely started to brown. Pull out of the oven, and let cool while you make the filling.
The Filling
- Cream your cream cheese and desired sweetener together with a mixer until you have a smooth creamy mixture.
- Add the eggs and vanilla, then mix again until everything is well incorporated. Pour the mixture into the pan and spread out evenly with a spatula.
- Bake at 350° F for 45-60 minutes, or until the top has browned and the filling has set. Once the filling has set, pull the cheesecake out of the oven, and let it cool before running a thin spatula along the sides of the cheesecake and removing the pan.
Blueberry Gelatin Topping
- Combine the blueberries, sweetener, water, and gelatin in a small saucepan, and cook over medium heat stirring often. Bring the mixture to a boil, and cook another two to three minutes before removing from heat.
- Let the mixture cool before serving over the cheesecake.
Notes
Nutrition
If you are enjoying our site and would like to help support Rocky Mountain Baking, use the links in the articles to make your purchases through our affiliate sites. As an affiliate marketer we receive compensation for any purchases made through these links, and these purchases will help us to keep our content free for all.
