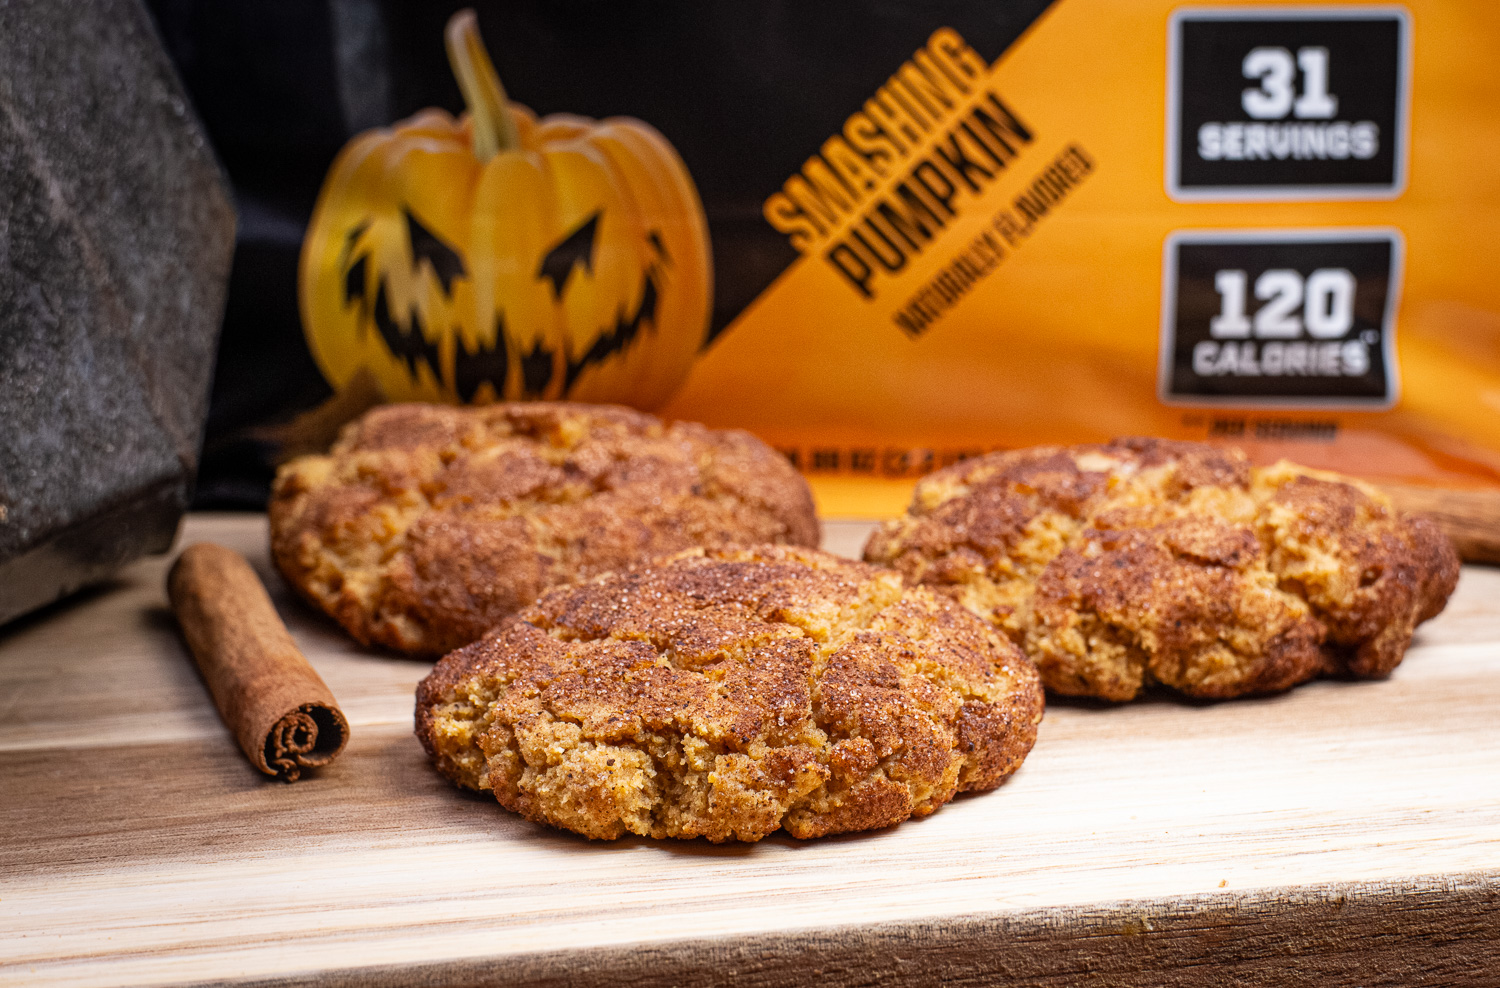
Pumpkin Spice Protein Snickerdoodle
The flavor of a snickerdoodle is a crowd pleaser for good reason, but add pumpkin and pumpkin spice protein powder to it, and the snickerdoodle just went up another level.
Now, I know I’m not the only one out there with a pumpkin spice snickerdoodle, as the pairing only makes sense. But I think this just might be the only low-carb, protein-powered, flavor-packed, pumpkin snickerdoodle recipe available on the web. 😉
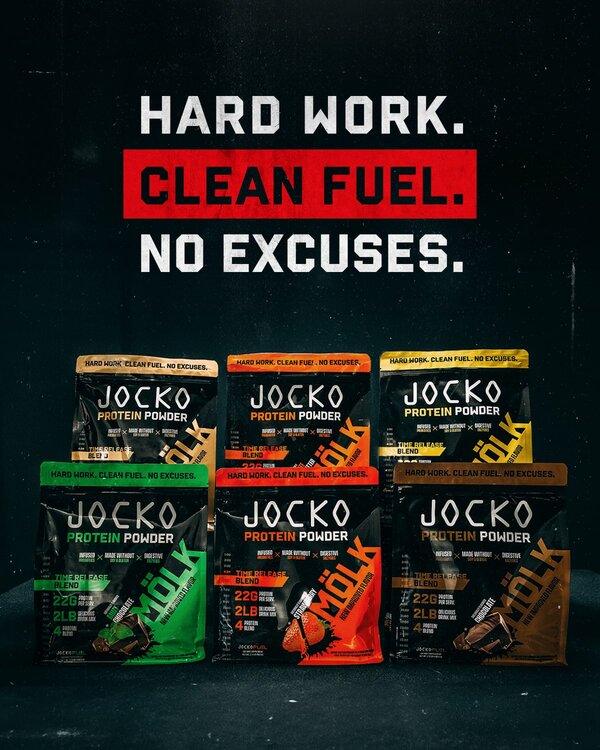
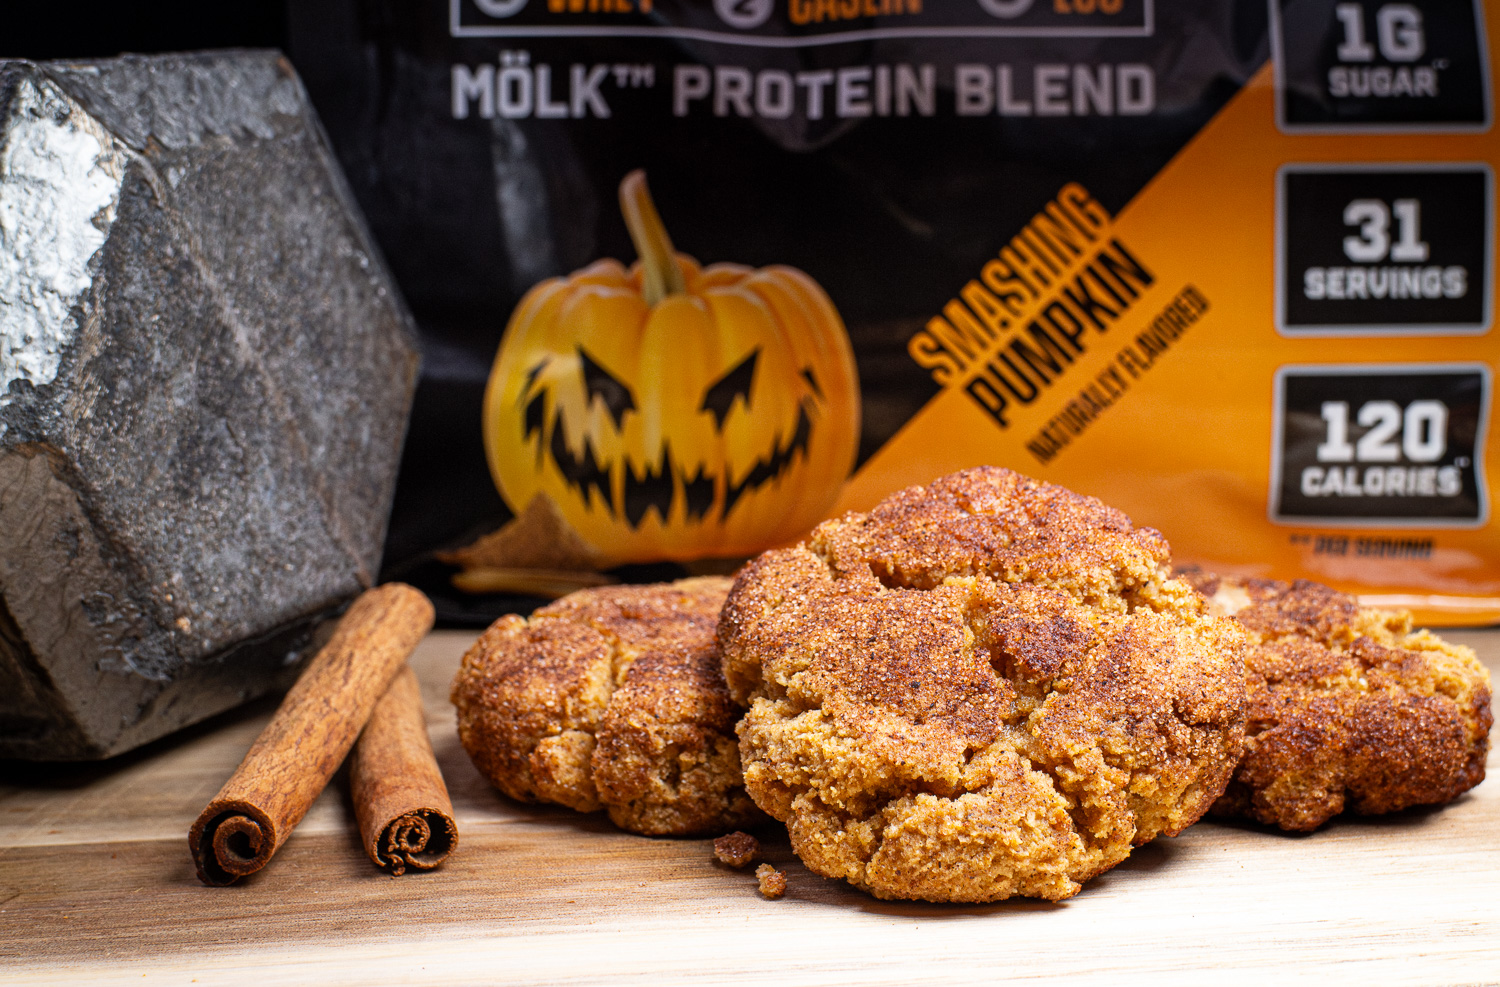
Thanks to products like Jocko Fuel’s Pumpkin Spice Protein Powder, low-carb treats can be packed with flavor while allowing you to maintain your diet goals! Not only does their protein powder contribute to the protein content, but it is also a key ingredient in getting the pumpkin spice flavor. If you are a Jocko Fuel fan, you probably have a bag of Pumpkin Spice Mölk already in your pantry. But if not and this is your first time here click on the link below and use code RMB20 for 20% off your order!
Mölk is one of the cleanest and tastiest protein powders you will find!
Ingredient List
4 Ounces Cream Cheese
1/4 Cup Butter (room temperature)
1/3 Cup Brown Sugar Substitute
1 Large Egg
1/4 Cup Pumpkin Puree
1 Tablespoon Gelatin
1/2 Teaspoon Baking Soda
1/4 Teaspoon Salt
1/2 Teaspoon Cinnamon
2/3 Cup Pumpkin Spice Mölk
1 Teaspoon Vanilla Extract
1/2 Cup Plus 1 Tablespoon Coconut Flour
For The Coating
1 Tablespoons Monkfruit/Erythritol Blend Or Monkfruit/Allulose Blend
1 Teaspoons Cinnamon
1/4 Teaspoon Pumpkin Spice
How to Make Pumpkin Spice Protein Snickerdoodles
Begin by preheating your oven to 350° Fahrenheit, and line a cookie sheet with parchment paper.
Remember, when baking low-carb, parchment paper is your friend! When I first began baking low-carb, I tried to cut corners and did not use parchment paper. After my first tray of very stuck cookies, I swiftly switched to using parchment paper every time I baked any cookie! After that, my cookies came off the sheet not only intact but with ease.
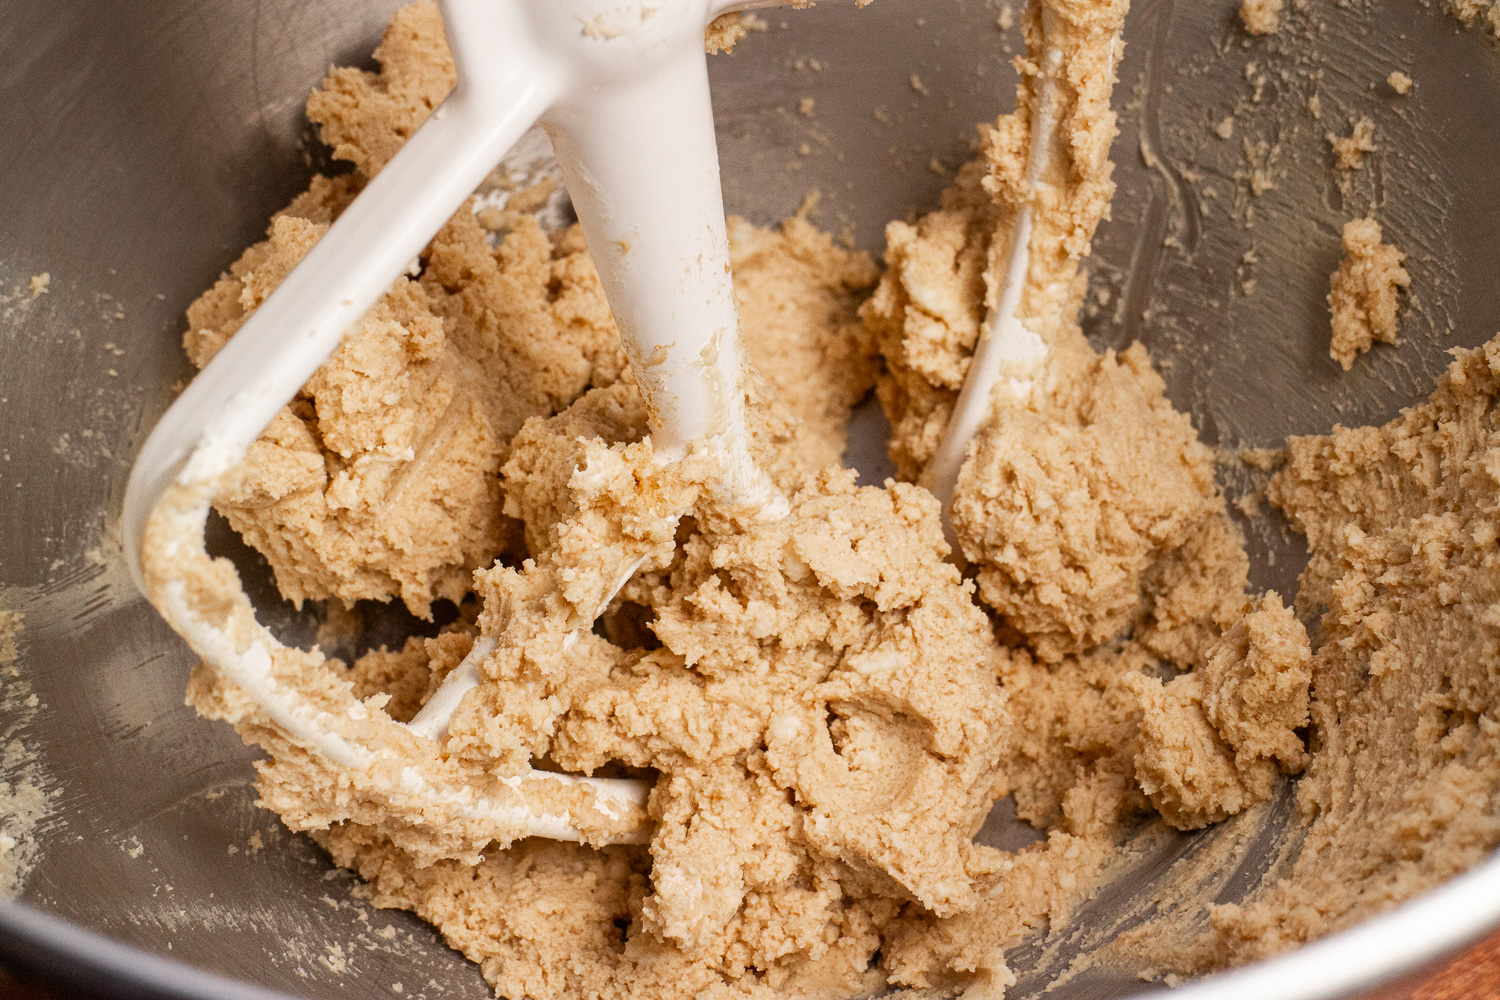
Using a stand mixer such as a KitchenAid, cream the cream cheese, butter, and sweetener in a mixing bowl until you have a smooth creamy mixture.
Next, add the egg and pumpkin and mix on low until evenly incorporated. You may have to stop the mixer and scrape the sides a time or two, to ensure everything has been mixed evenly.
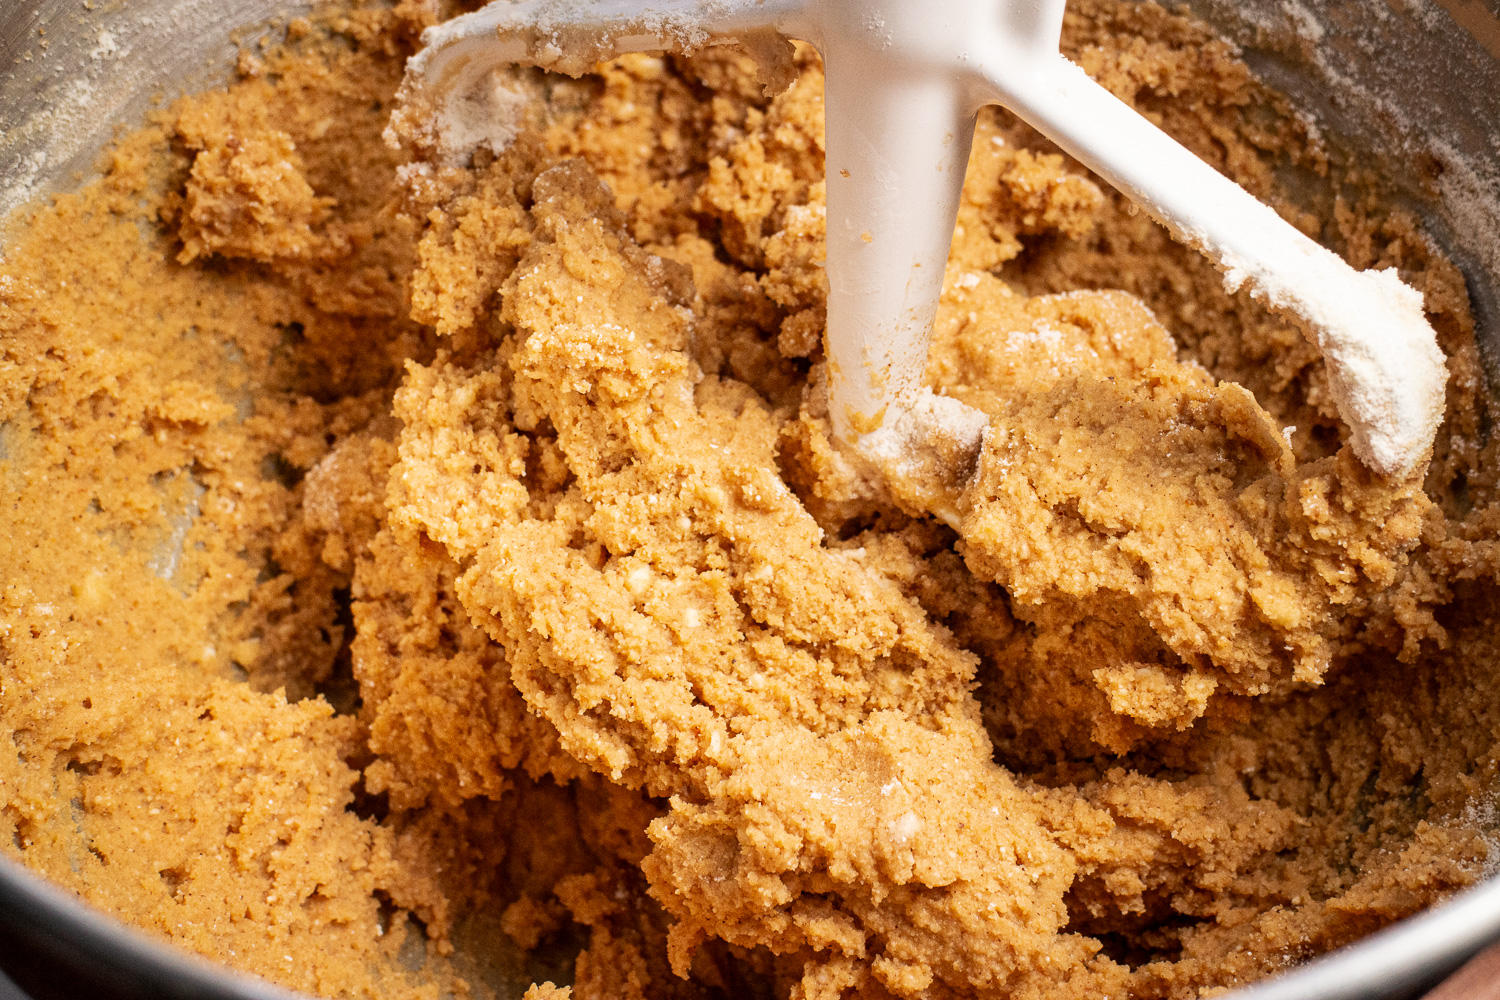
Once mixed, add the gelatin, baking soda, salt, protein powder, cinnamon, and vanilla.
Carefully measure your coconut flour and mix it in.
When measuring the coconut flour make sure you have the measuring cup evenly filled and don’t have a heaping cup full. Coconut flour absorbs moisture and lots of it. If you heap your measuring cup even a little you may find yourself with a dry crumbly dough, and your cookies may turn out crumbly instead of soft and moist.
After the coconut flour has been mixed in, let the dough rest for about 10 minutes before rolling into balls.
( This allows the coconut flour to absorb some of the liquid and makes the dough more workable)
To make the cinnamon coating combine the sweetener, cinnamon, and pumpkin spice in a small bowl. Mix together until evenly combined.
Roll the cookie dough into 1 1/2 – 2 inch balls, then roll them in the cinnamon mixture, and place them on the prepared baking sheet about 2 inches apart.
Once you have your cookie sheet full of cookies, lightly flatten the top of the cookies with the palm of your hand.
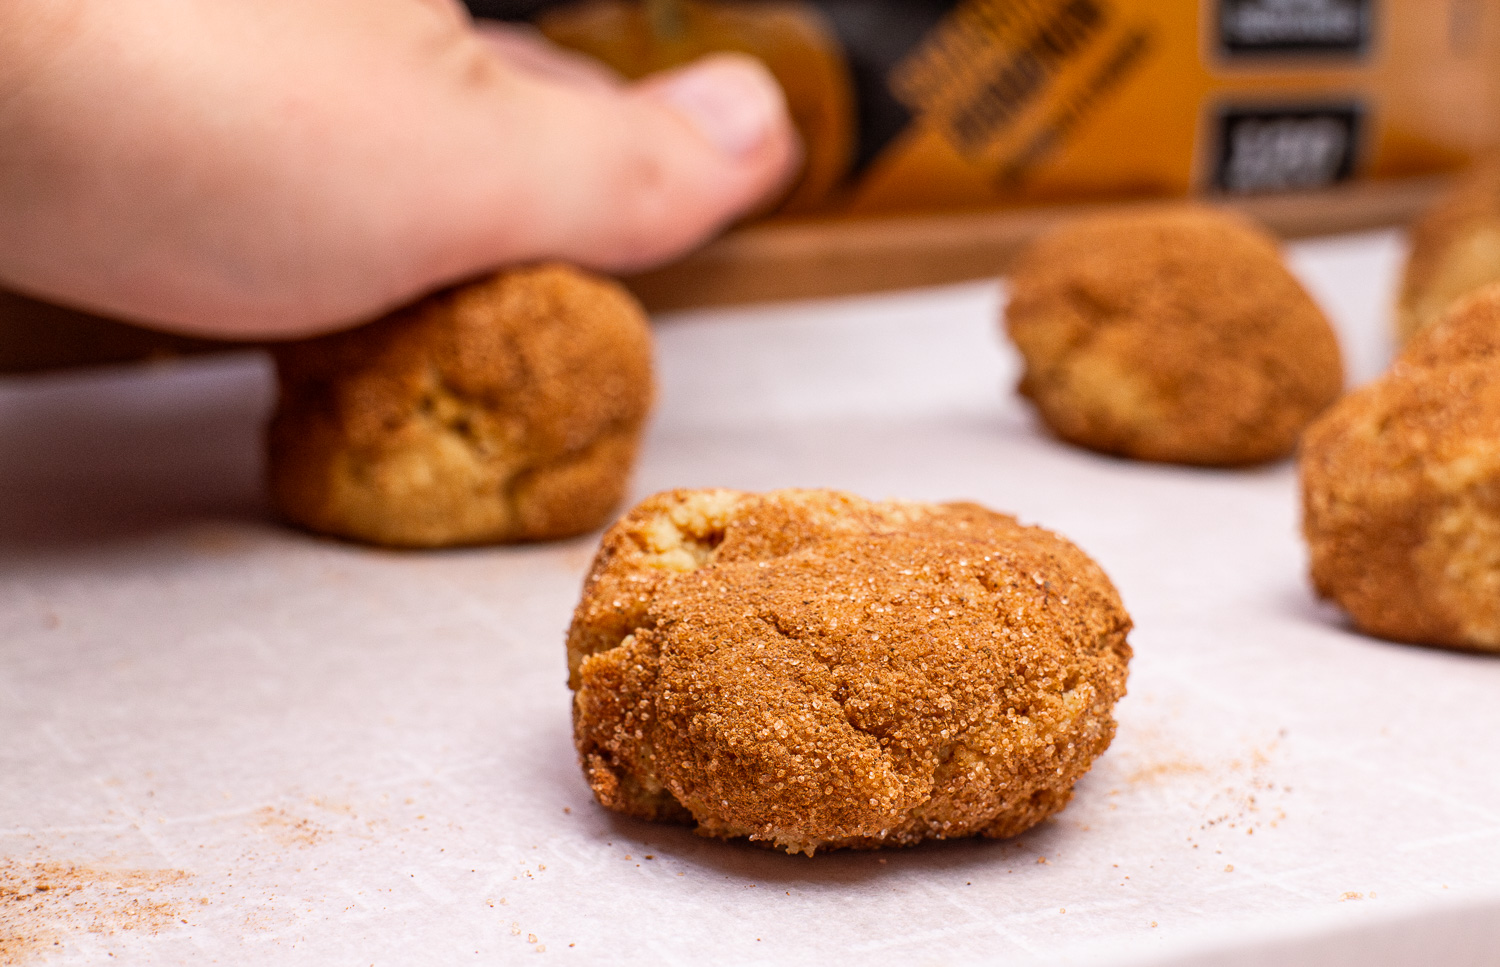
Bake for 12-14 minutes or until the tops have begun to crack and the edges have begun to brown. Remove from the oven, and let cool completely before removing from the pan.
Serve and enjoy!
Pumpkin Spice Protein Snickerdoodle
Ingredients
- 4 Ounces Cream Cheese
- 1/4 Cup Butter (room temperature)
- 1/3 Cup Brown Sugar Substitute
- 1 Large Egg
- 1/4 Cup Pumpkin Puree
- 1 Tablespoon Gelatin
- 1/2 Teaspoon Baking Soda
- 1/4 Teaspoon Salt
- 1/2 Teaspoon Cinnamon
- 2/3 Cup Pumpkin Spice Protein Powder
- 1 Teaspoon Vanilla Extract
- 1 Cup Plus 1 Tablespoon Coconut Flour
For the Coating
- 1 Teaspoon Cinnamon
- 1 Tablespoon Monkfruit/Erythritol or Monkfruit/Allulose Blend
- 1/4 Teaspoon Pumpkin Spice
Instructions
- Begin by preheating your oven to 350° Fahrenheit, and line a cookie sheet with parchment paper.
- Using a stand mixer such as a KitchenAid, cream the cream cheese, butter, and sweetener in a mixing bowl until you have a smooth creamy mixture.
- Next, add the egg and pumpkin and mix on low until evenly incorporated. You may have to stop the mixer and scrape the sides a time or two, to ensure everything has been mixed evenly.
- Once mixed, add the gelatin, baking soda, salt, protein powder, cinnamon, and vanilla.
- Carefully measure your coconut flour and mix it in. When measuring the coconut flour make sure you have the measuring cup evenly filled and don’t have a heaping cup full. Coconut flour absorbs moisture and lots of it. If you heap your measuring cup even a little you may find yourself with a dry crumbly dough, and your cookies may turn out crumbly instead of soft and moist.
- After the coconut flour has been mixed in let the dough rest for about 10 minutes before rolling the dough into balls.( This allows the coconut flour to absorb some of the liquid and makes the dough more workable)
- To make the cinnamon coating combine the sweetener, cinnamon, and pumpkin spice in a small bowl. Mix together until evenly combined.
- Roll the cookie dough into 1 1/2 – 2 inch balls, then roll them in the cinnamon mixture, and place them on the prepared baking sheet about 2 inches apart. Once you have your cookie sheet full of cookies, lightly flatten the top of the cookies with the palm of your hand.
- Bake for 12-14 minutes or until the tops have begun to crack and the edges have begun to brown. Remove from the oven, and let cool completely before removing from the pan.Serve and enjoy!
If you liked this recipe and would like to help support Rocky Mountain Baking, use the links in the above recipe or our other recipes to make your purchases. As an affiliate marketer, we receive compensation for any purchases made through these links, and these purchases will help us to keep our content free for all.